


Post processing is one of the most important steps in creating captivating renderings. Programs like V-Ray and SU Podium create a realistic base renderings but with the proper adjustments and effects in Adobe Photoshop you can easily make your renderings more compelling.
01 Adjusting Curves
Adjusting curves can help remove the "filmy" look that most base renders have. By custom adjusting the curves you can dial in the contrast, tone, and color balance. This, however, requires a skilled eye and some experience. For the image below we simply used the curves preset for "increase contrast". To adjust curves in PS go to image > adjustments > curves
02 HDR Toning
HDR Toning can also help improve the contrast and clarity of an image. HDRing, however, gives you the ability to increase the detail of an image to give it texture and make materials stand out more. Another advantage of HDR toning is the amount of parameters that can be adjusted including edge glow, gamma, exposure, detail, shadow, highlight, vibrance, and saturation. You can find it in PS under image > adjustments > hdr toning. The image below was created using the default hdr preset with no tweaks.
03 Linework Overlay
Sketchup, Rhino, or Revit linework can be exported and overlayed on a render to help give it texture and more definition. In many images it can help viewers better read and understand the geometry of a project. To do this export your linework from the same view as the render and at the same resolution. Open it in photoshop and put it on a separate layer on top of your render and set the blending mode to linear burn. The image below was created with a hidden line mode export with opacity set to just 30% in photoshop. To get more texture try using xray line mode exports.
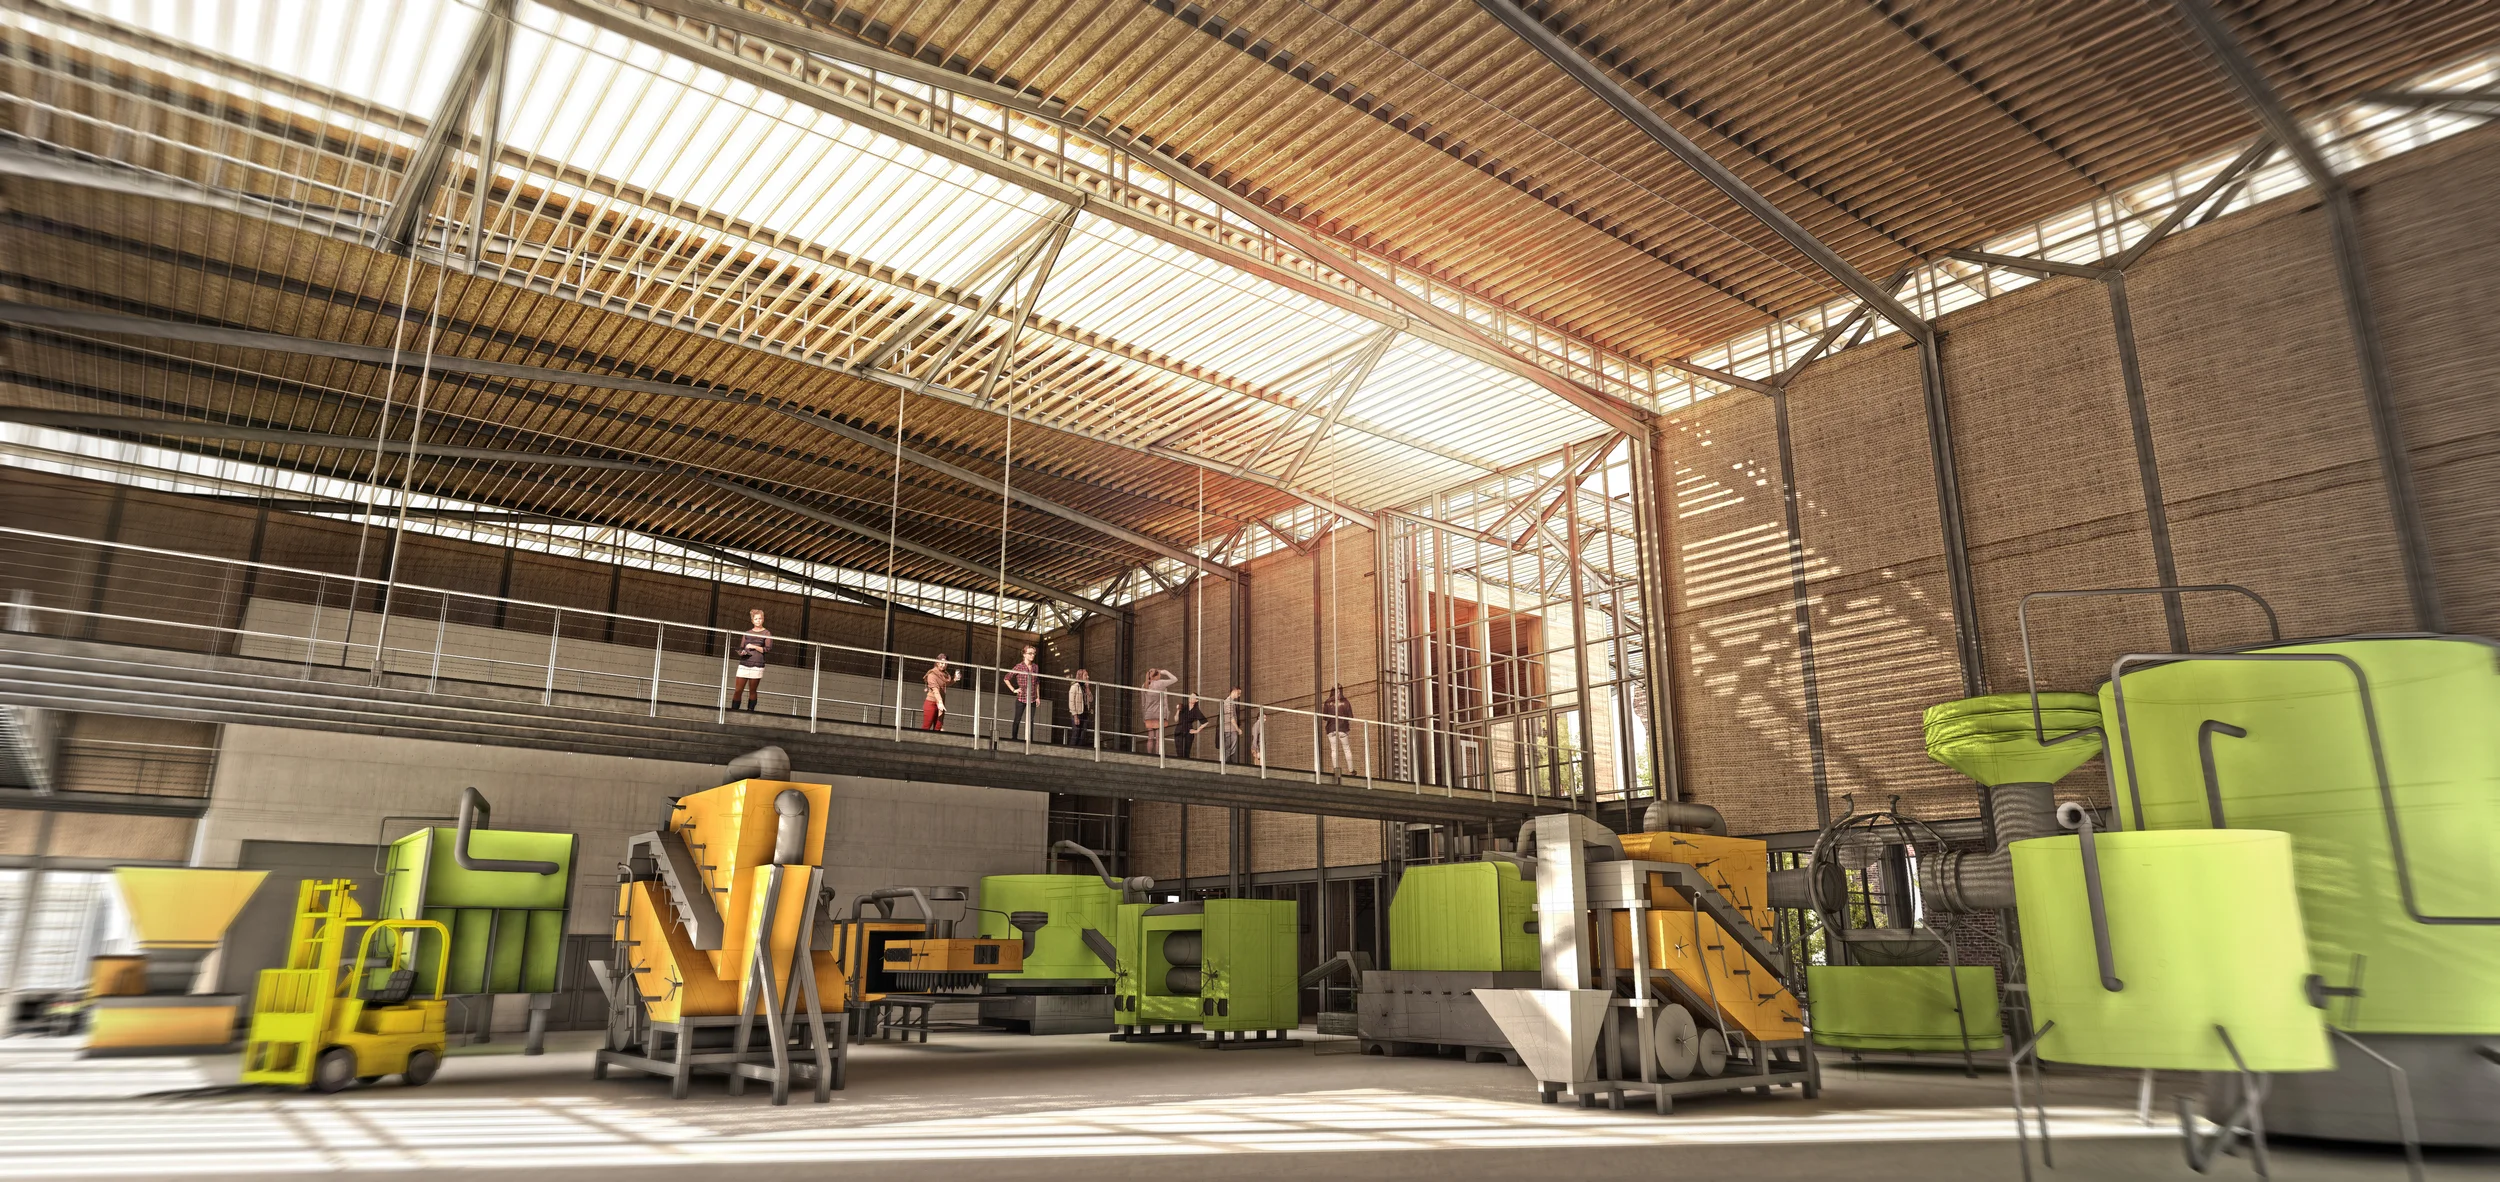
04 Radial Zoom Blur
Using a radial zoom blur can help draw more attention to a building or object. Similar to vignetting this effect helps create more drama and creates more of a focal point for the image. To apply this effect in photoshop go to filter > blur > radial blur and select zoom instead of spin.
05 Bloom
Adding bloom is a technique that softens the shadows of an image while increasing contrast. It helps make shadows look more realistic and adds more life to an image. There are a few different ways to achieve this effect with outside photo editing programs but it can also be manually done in photoshop. The first step is to duplicate the base render layer. Next, change the layers blending mode to overlay. Apply a gaussian blur under filter > blur > gaussian blur. For the image below we set the blur to a radius of 1 pixel and set the opacity of the entire layer to 50%.
Thanks for taking time to read our first blog. Comment below with other techniques that you find useful as well as what you'd like to see us write about in our next blog. Share this with your colleagues and classmates so they can join the conversation.